OpenWebUI
OpenWebUI is an extensible, feature-rich, and user-friendly self-hosted AI interface designed to operate entirely offline. It supports various LLM runners, including Ollama and OpenAI compatible APIs.
How to run
There are two ways of using LLM models:
- Dedicated instance: Requires renting a dedicated GPU to run your own model using LLama.cpp on CGC, providing full control over the model.
- Shared instance: Allows you to use ready to use models available through CGC LLM-API, which is a cheaper solution, as it does not require renting a dedicated GPU.
To run the OpenWebUI compute resource, use the following command in the CGC CLI, we recommend at least 2 CPU cores and 2GB of RAM:
cgc compute create -c 2 -m 2 -n <your_compute_name> -e openai_api_key=<your_api_key> -v <your_volume_name> open-webui
Required parameters
OPENAI_API_KEY: Your OpenAI API key enabling LLM usage. To use models from LLM-API, generate an LLM-API API key.
Default configuration
CUSTOM_NAME: The name of the OpenWebUI instance, set to name that you provide.OPENAI_API_BASE_URL: The base URL for OpenAI API, set tohttps://llm.comtegra.cloud/v1by default.
Optional configuration
RAG_OPENAI_API_BASE_URL: The base URL for RAG OpenAI API, if provided:RAG_EMBEDDING_MODEL: The embedding model to use, default isgte-qwen2-7b.RAG_EMBEDDING_ENGINE: The embedding engine to use, default isopenai.
In case of a mistake in the environment variables, you can change them later in the Admin Settings panel.
Registration and configuration
After running the compute resource in the CGC CLI, you should see information about the creation of the OpenWebUI compute resource and the URL and App Token allowing access to the OpenWebUI interface.

In your browser, navigate to the URL provided in the CLI output and you should see the OpenWebUI interface.

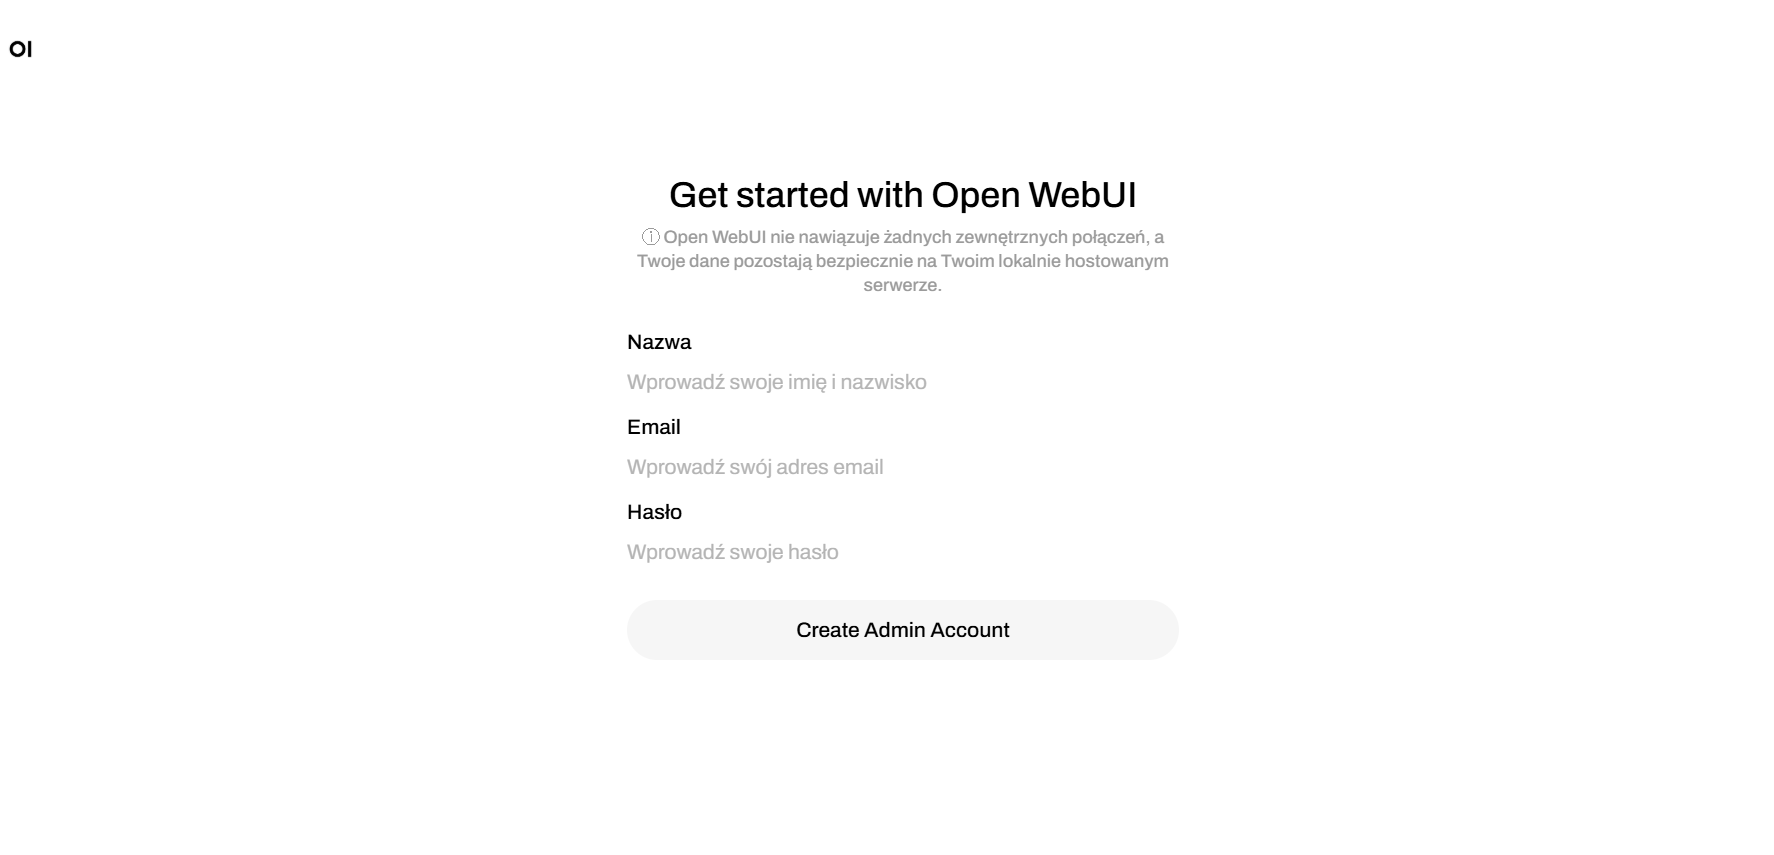
Continue by pressing the Get started button.
In the next step, you will be asked to register an admin account. Register with email and password.
OpenWebUI doesn't make any external connections, your email and password are safely stored locally.
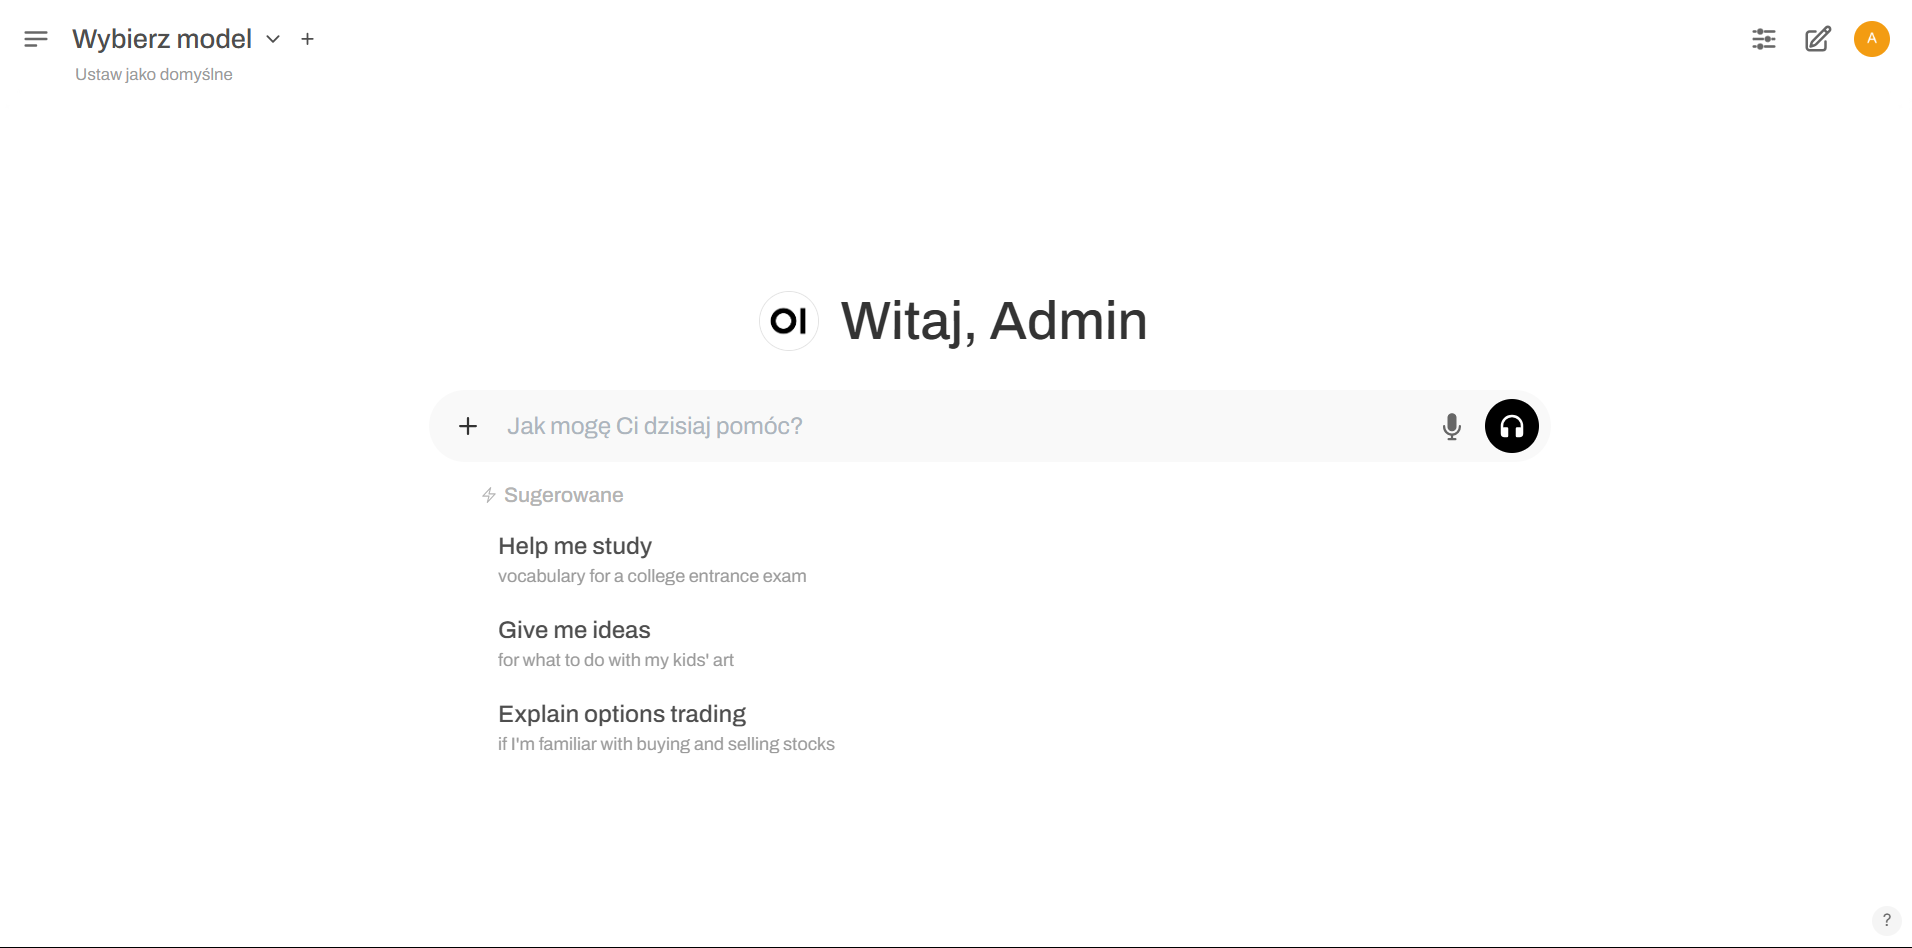
After registering, you will be redirected to the OpenWebUI chat interface.
LLM provider configuration
If you created a compute resource with LLM-API during the compute resource creation, you can skip this step.
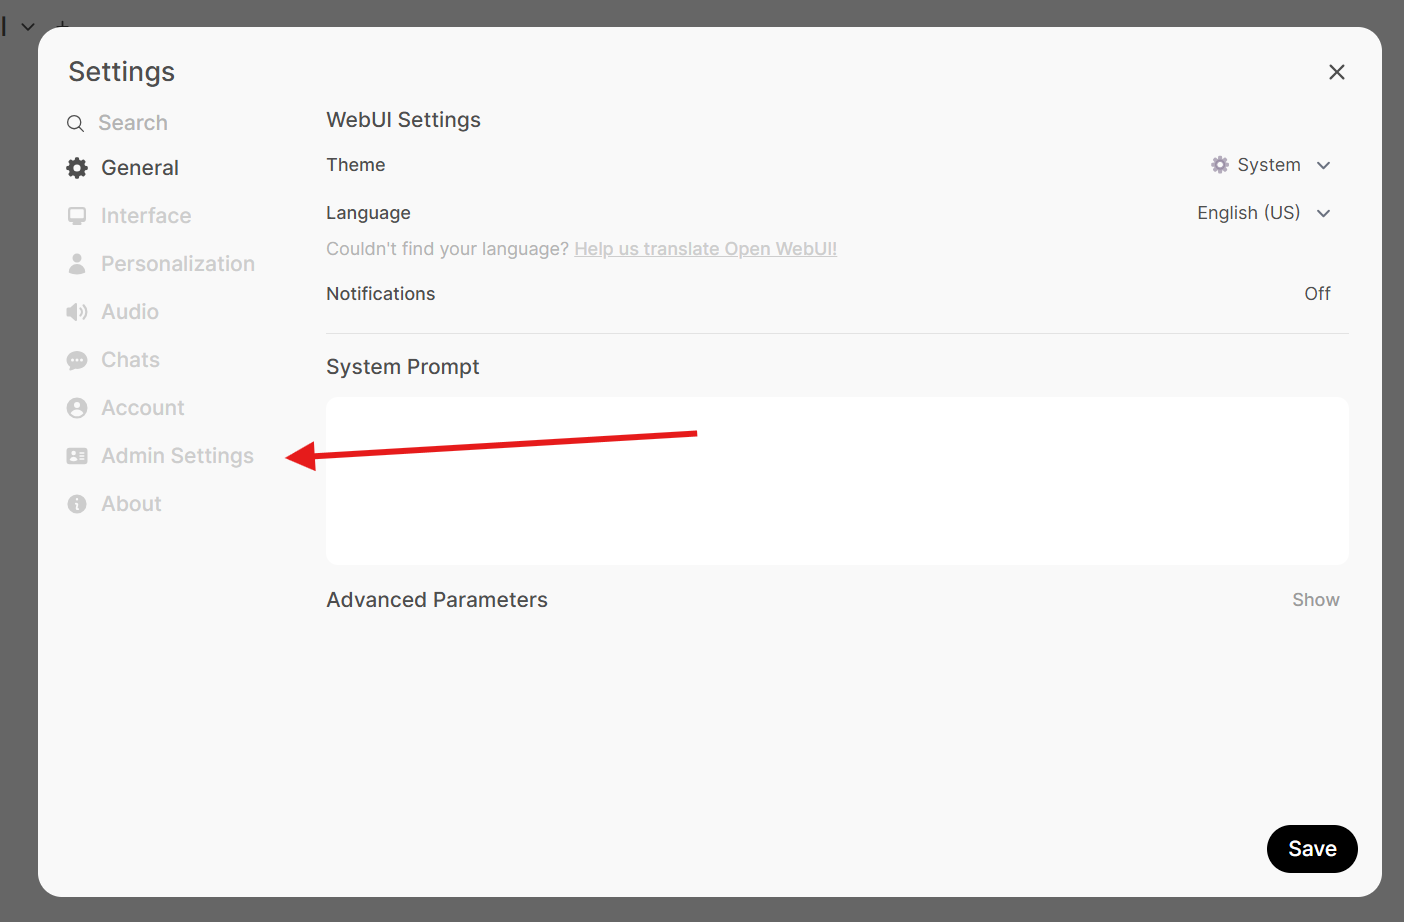
Before we can use the chat interface, we need to configure the LLM provider. To do so, click on the Settings button in the top right corner of the interface.

In the Settings panel, select the Admin Settings tab.
In the Admin Settings panel, select the Connections tab.
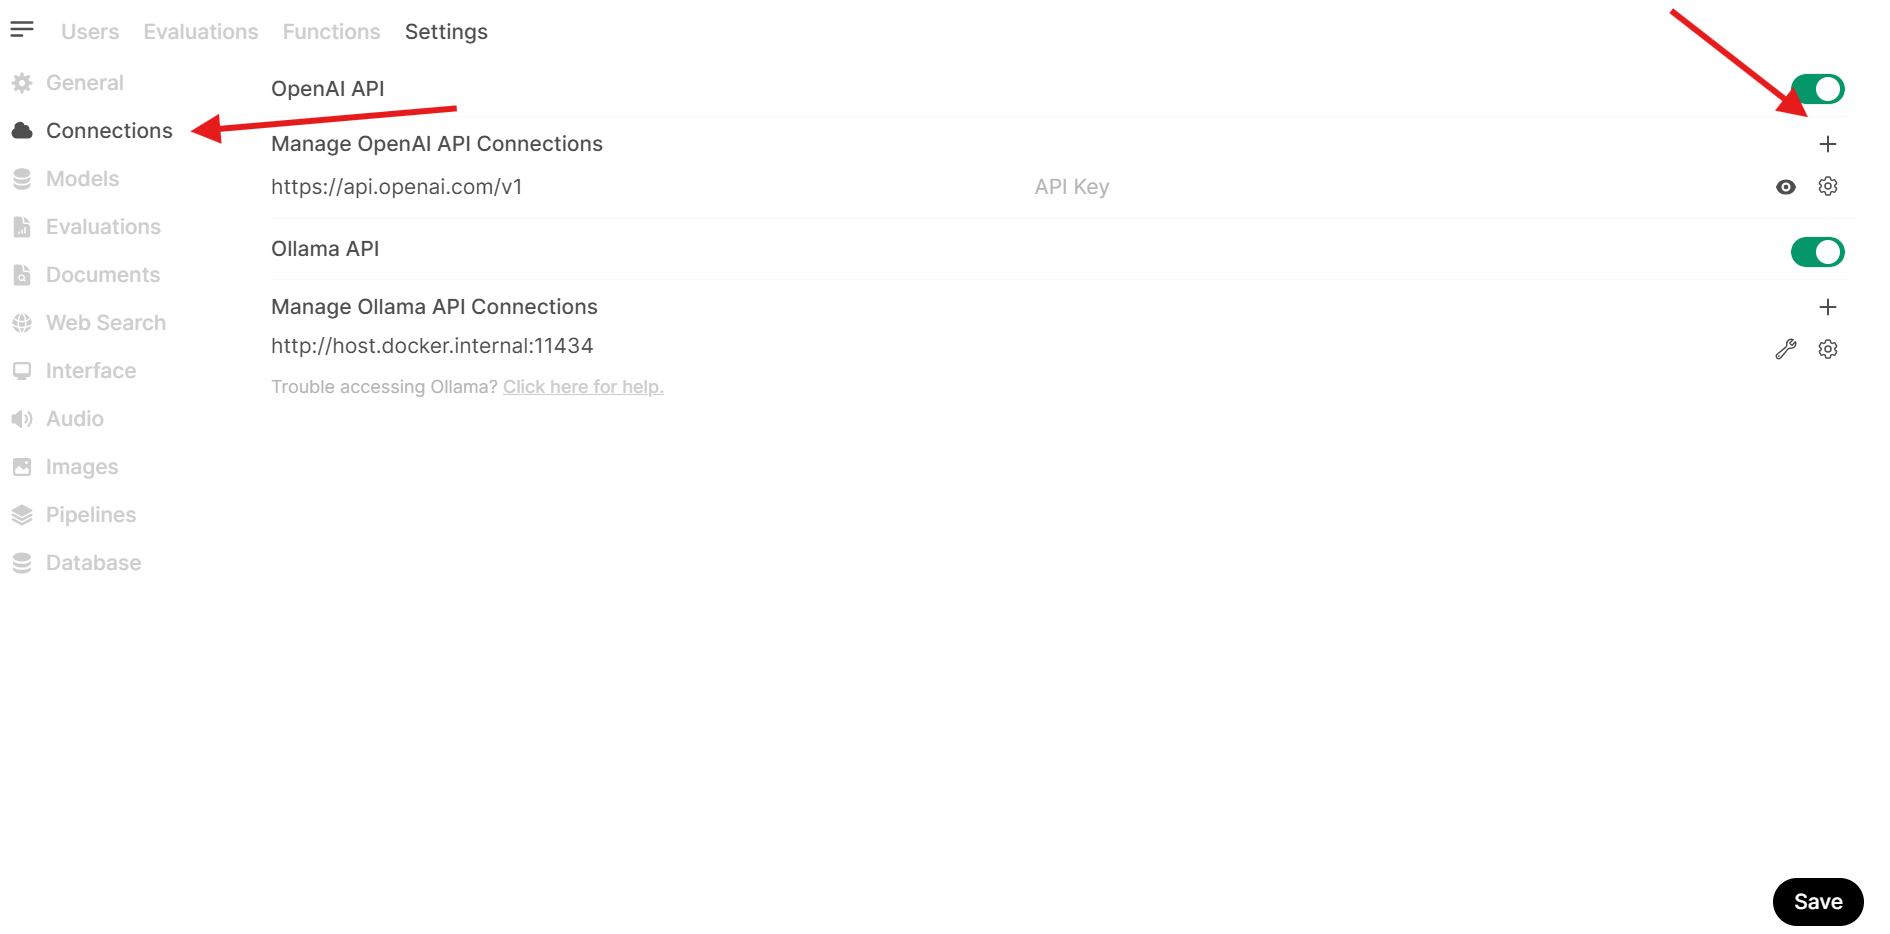
In the Add Connection window fill the URL and API Key fields with the values from the LLM-API or LLama.cpp compute resource you created earlier.
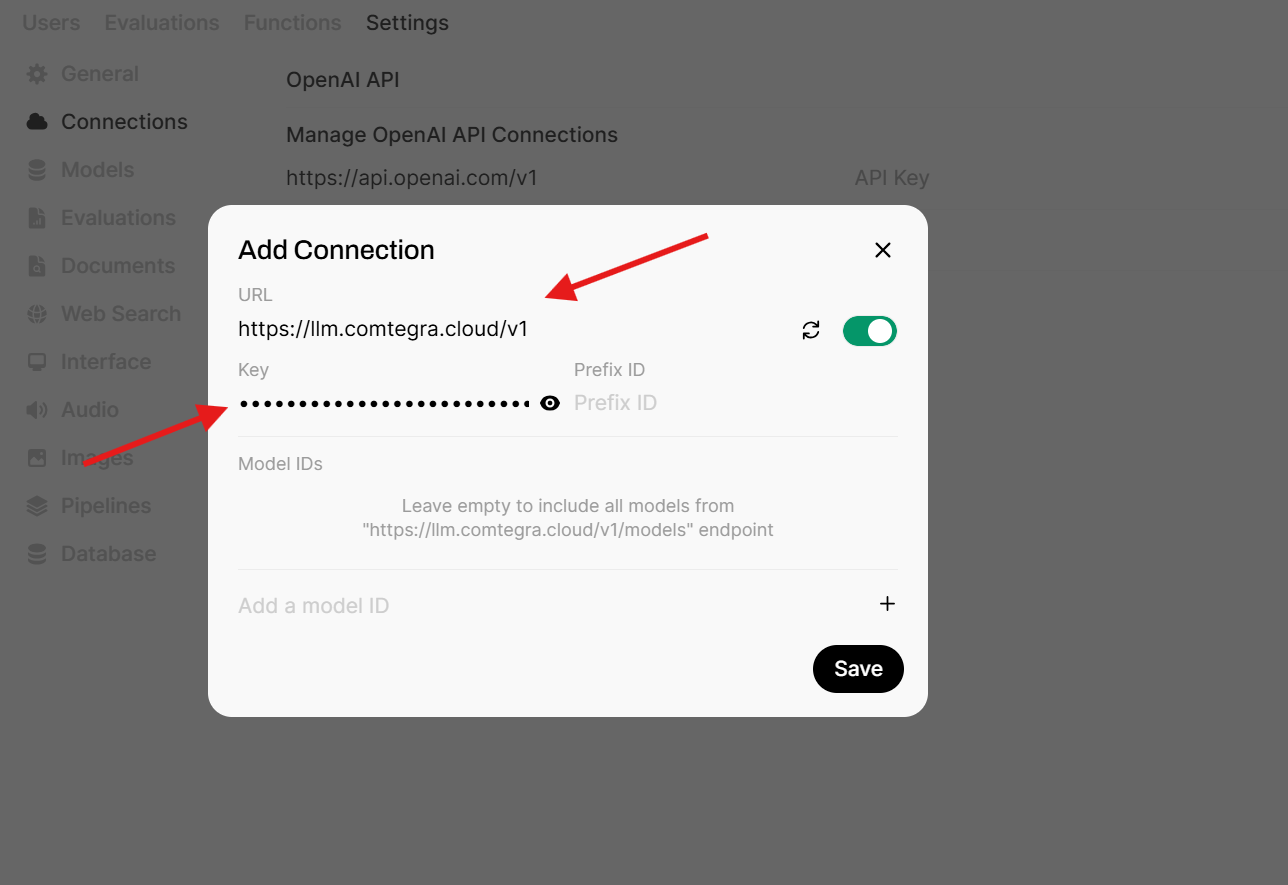
While using LLM API you don't have to specify any model ID, as the OpenWebUI will use the available models from the LLM API by accessing the models endpoint which lists all available models.
LLM provider configuration as a user
OpenWebUI from version v0.5.12 introduced the ability to configure the LLM provider as a user, so you don't have to rely on the Administrator's API key.
Go to the user settings and then to the Connections section.
In the Connections section add a direct connection.
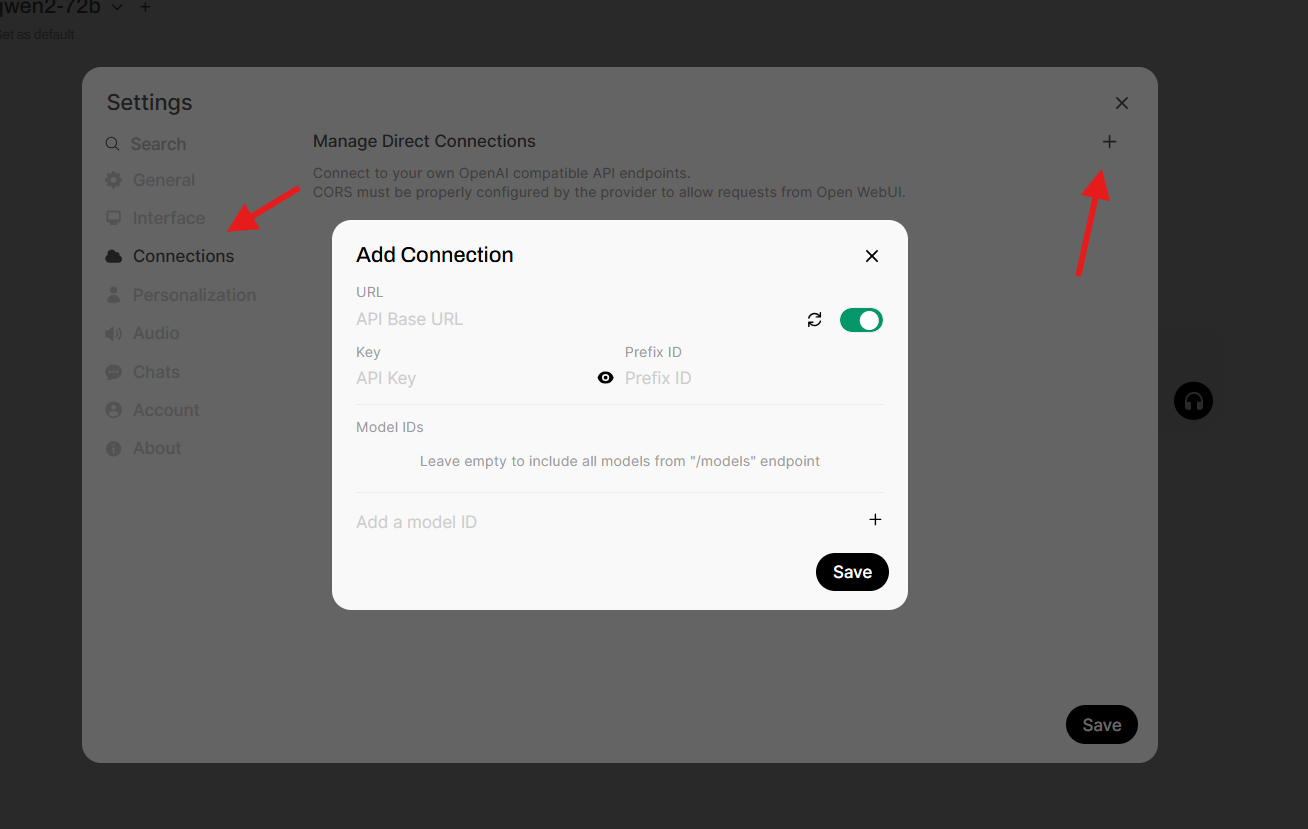
In the Add Connection window fill the URL and API Key fields with the values from LLM-API or LLama.cpp compute resource you created earlier.
While using LLM API you don't have to specify model ID, as the OpenWebUI will use the available models from the LLM API by accessing the /models endpoint which lists all available models.
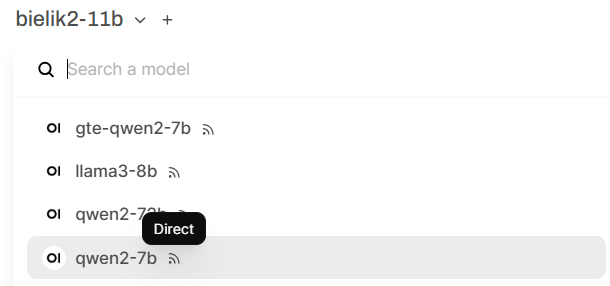
Direct models will be listed with the Direct label so they're easily recognizable.
Using OpenWebUI
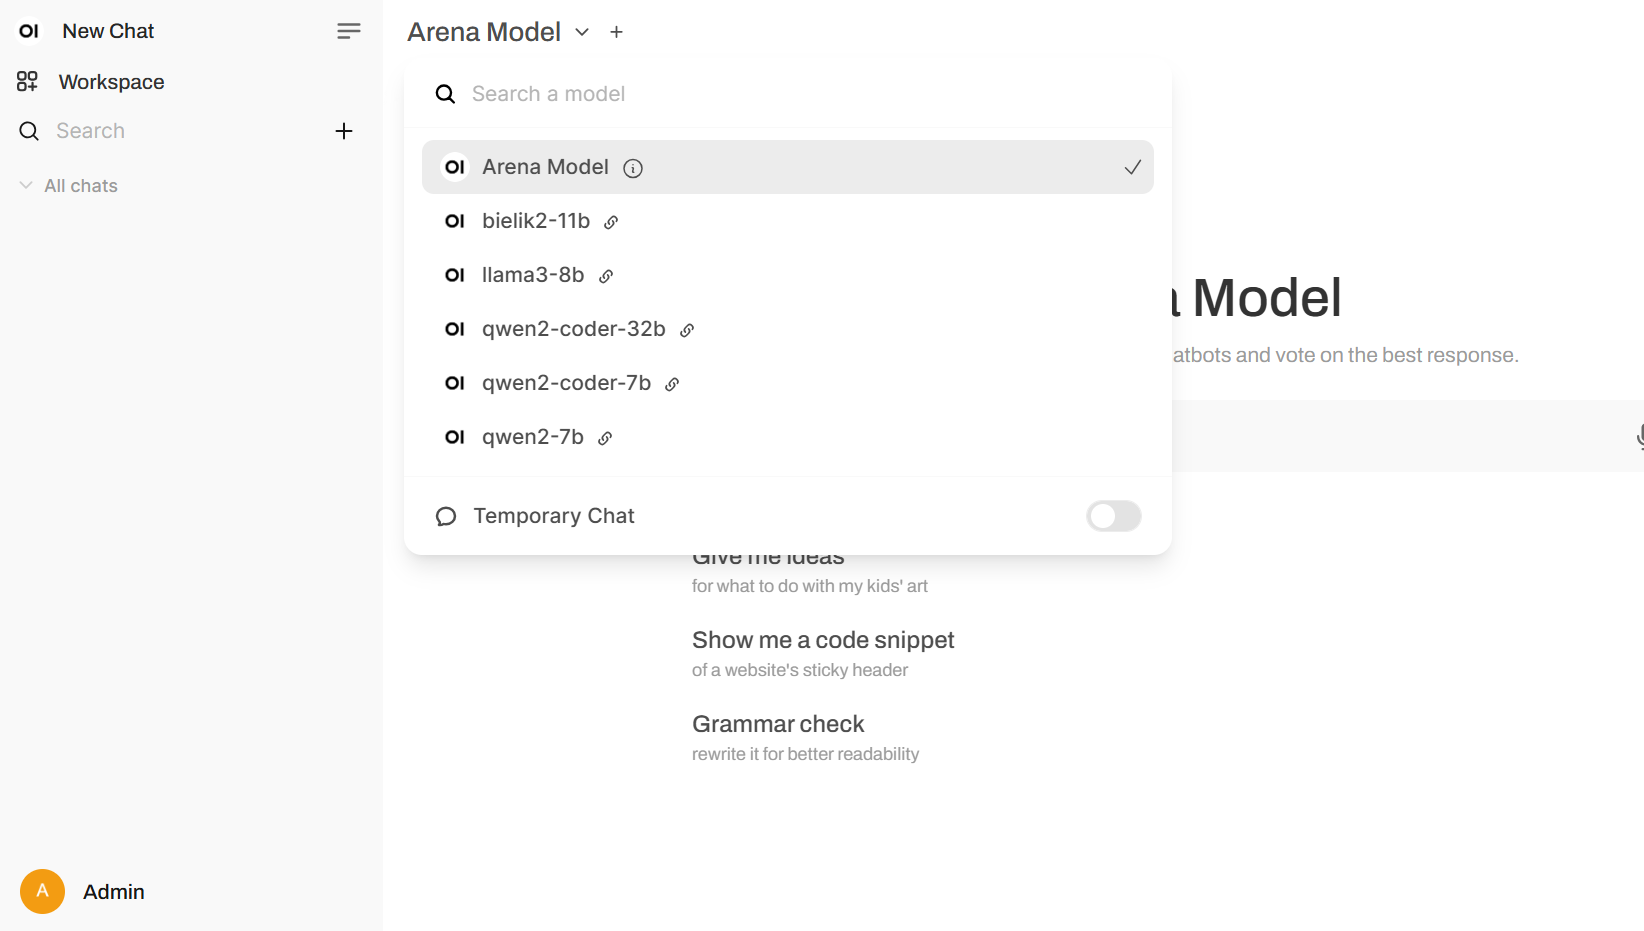
To chat with the LLM, select the model from the list of available models.
After selecting the model you can use the chat interface. Write your question in the text box and press enter to send your message.
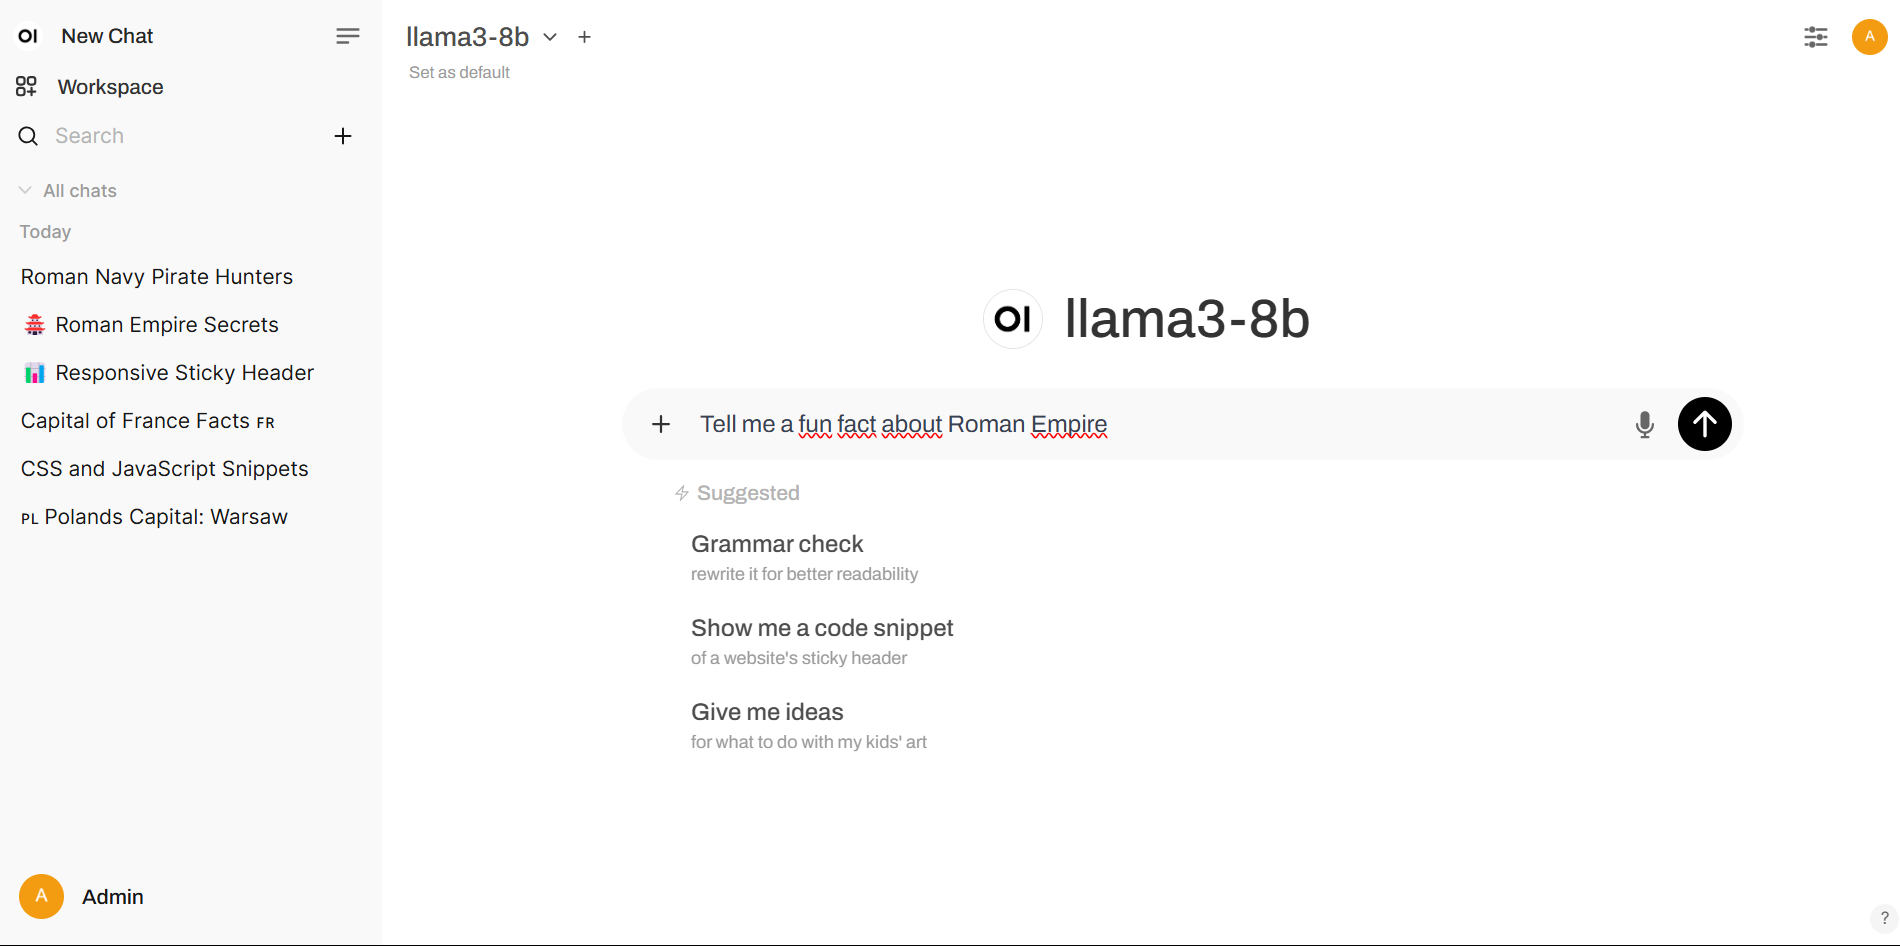
Voila! You can now chat with the LLM.

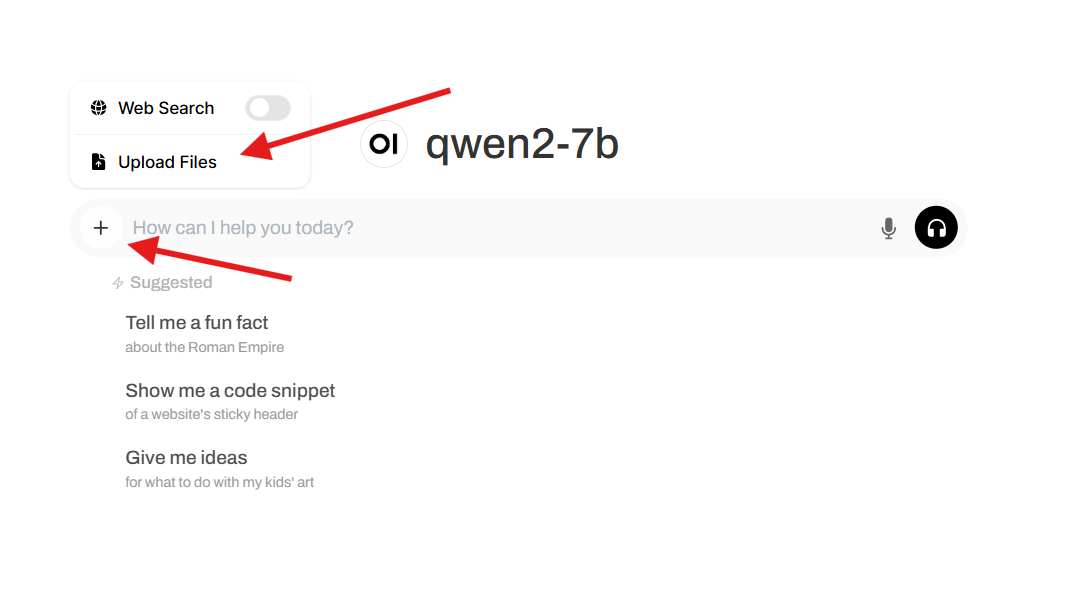
Uploading files
OpenWebUI allows you to upload files to the chat interface. To do so, click on the plus button on the left side of the chat interface or just drag a file to the chat interface.
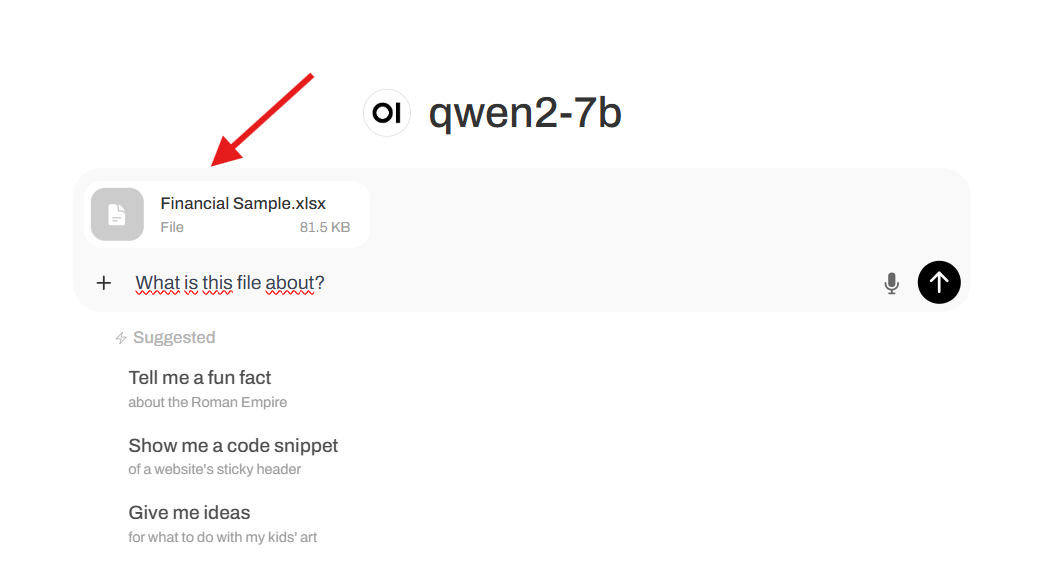
After uploading the file, you will see the file in the chat interface. Now you can ask the LLM to answer questions about the file or just use the file as a context for the chat.
Allowed file types are:
- .txt
- .json
- .csv
- .docx
- .pptx
- .xlsx
- .md
Web search
OpenWebUI also allows you to search the web.
To perform a web search, you need to provide a search engine API key. To do so, open the settings panel.
Click on the Admin Settings tab.
In the Admin Settings panel, select the Web Search tab.
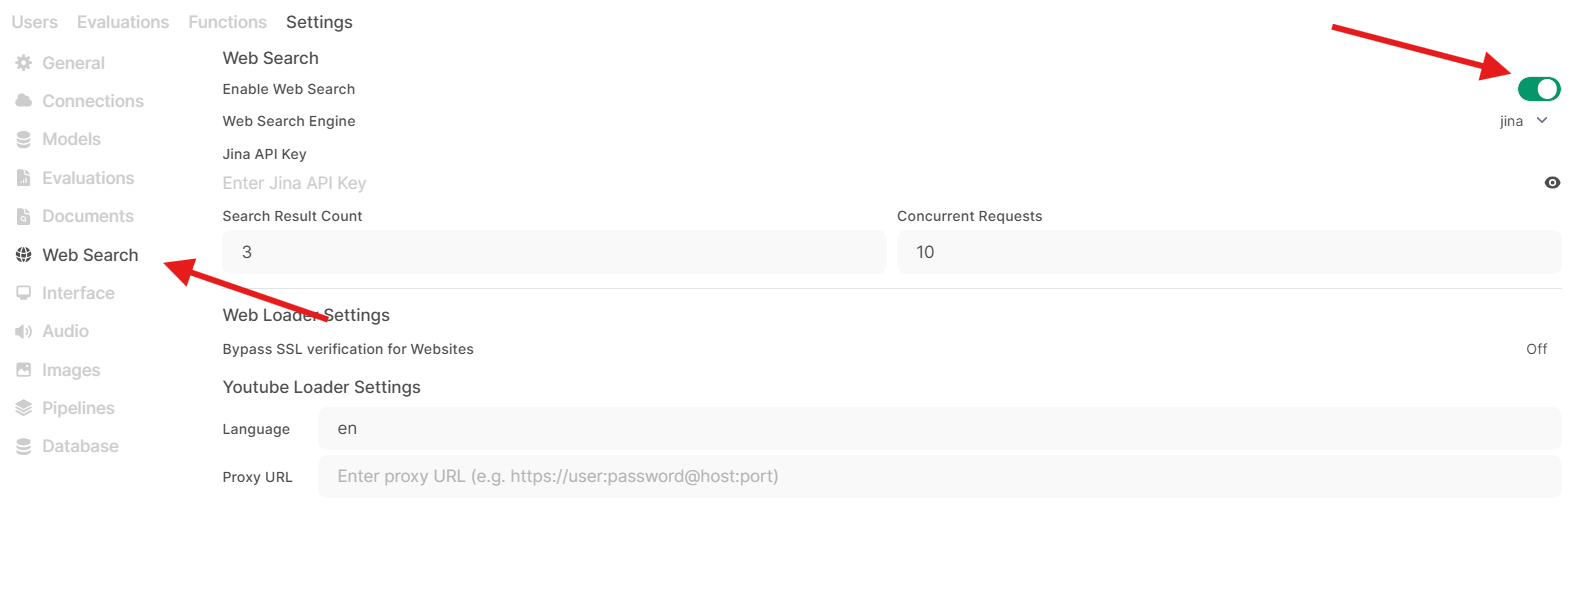
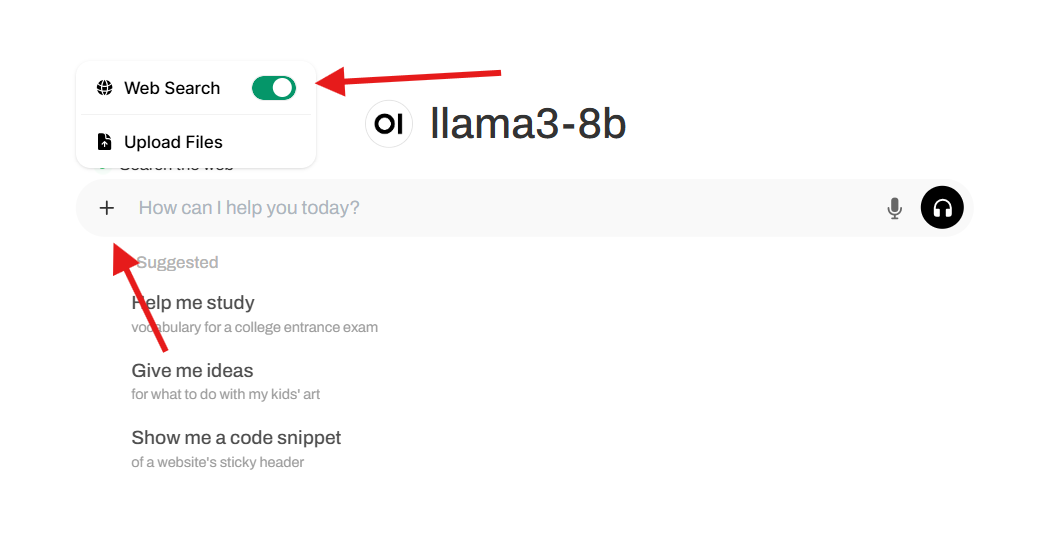
In the Web Search panel, turn on the Web Search button.
Provide the API key and click on the Save button.
Now you can perform a web search. To do so, click on the "Web Search" button in the chat interface and type your query.
Using Web Page as a context
OpenWebUI also allows you to use a web page as a context for the chat. To do so, type "#webpage" in the chat interface and paste the URL of the web page in place of "webpage" and press enter.
The webpage should be visible in the chat interface as a context. Your message should look like this:
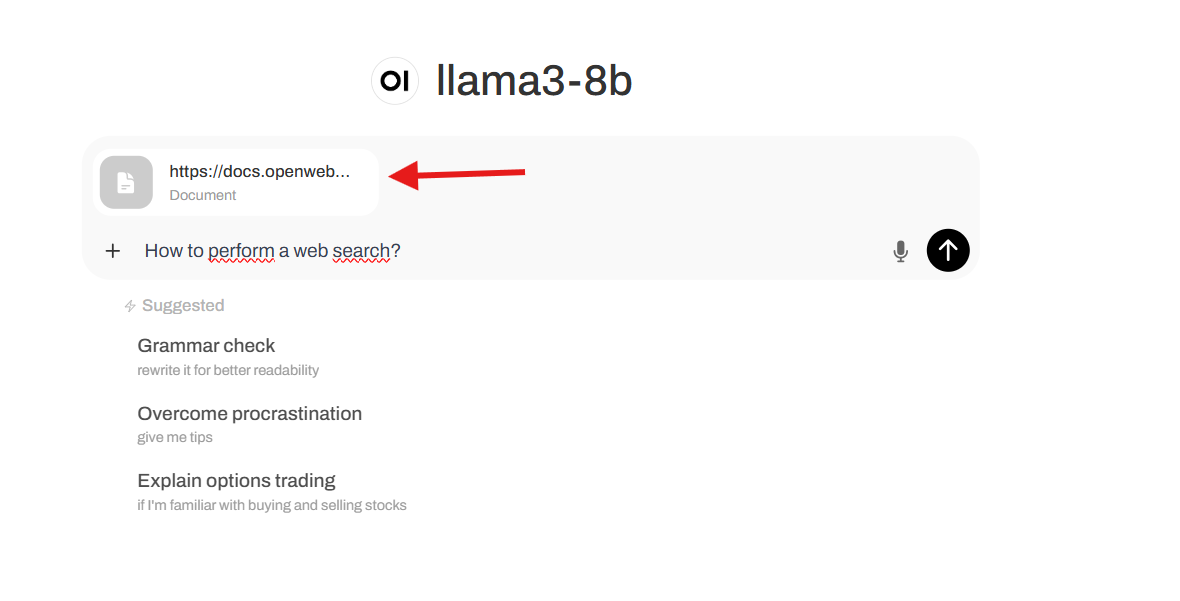
After asking the question, the LLM should answer the question based on the web page.
Creating users
To create new users, you need to go to the Admin panel on your OpenWebUI instance.
In the admin panel, press the + button to create a new user.
In the add user form fill in the role, name, email and password for the new user.
Share the email and password with the user and they will be able to login to the OpenWebUI instance.
How to enable users to use LLM models
There are two ways to enable users to use LLM models:
1. Adding users to a group
This is the recommended way to enable users to use LLM models. To add a user to a group, you need to go to the Admin panel on your OpenWebUI instance and go to the Groups tab.
In groups tab, press the + button to create a new group.
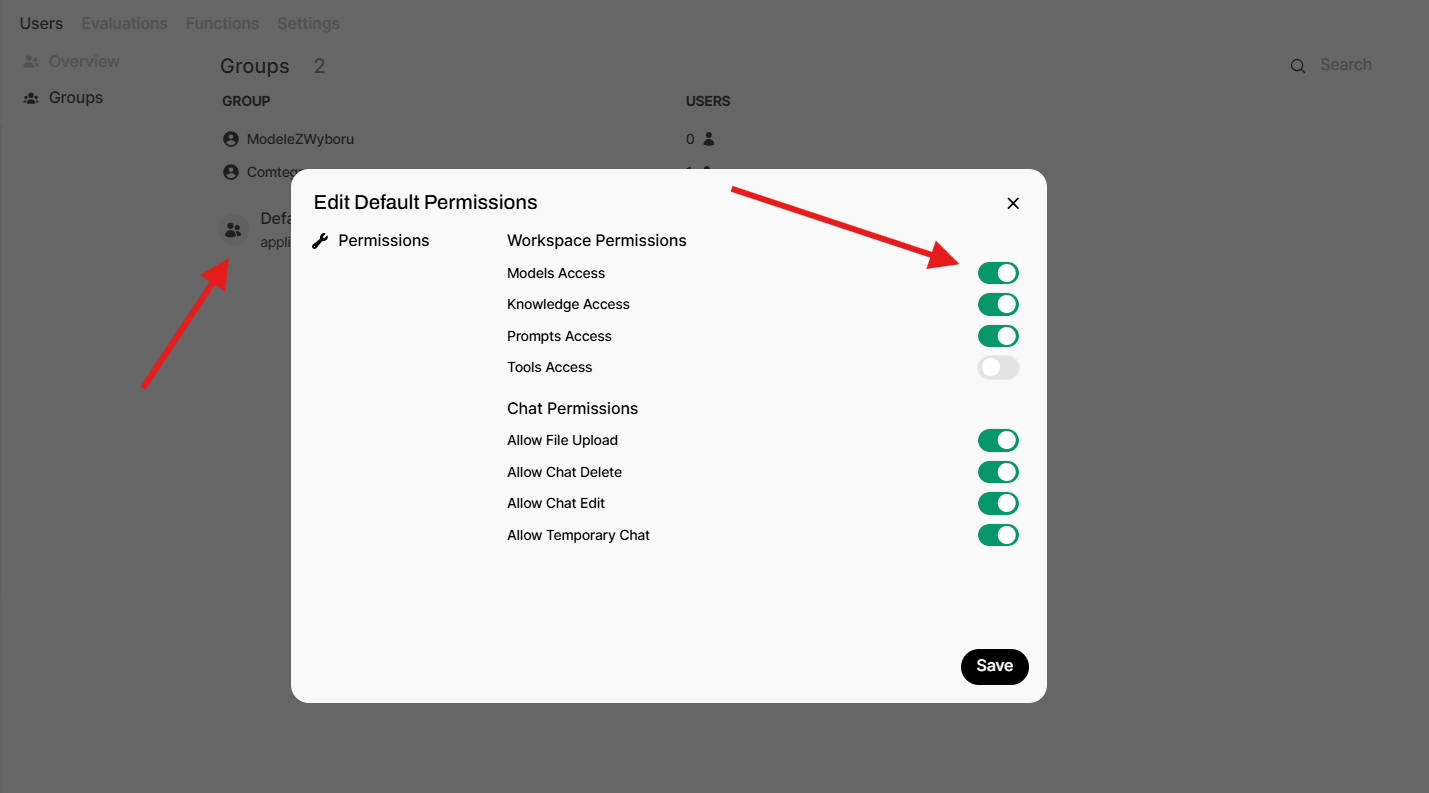
After creating a new group, you will see the group in the list of groups. Click on the group to open it. Here you can add users and change permissions for the group. Turn on Models Access option and save.
Now to assign models to the group, you need to go to the Admin Settings panel and select the Models tab. Here press the model you want to assign to the group and click on the Select a group button. Assign the model to the group, press the + button and Save.

Done! Now the users from the group will have access to the selected models.
2. Enabling users to view all the models
This is a simpler way to enable users to use LLM models, but it might be less secure.
Note: If there's no groups created with models access, make sure that all the users have access to the models.
To enable all the users to view the models in Admin Settings panel, select the Models tab. Here press the model you want to make accessible to everyone and change its visibility from Private to Public.
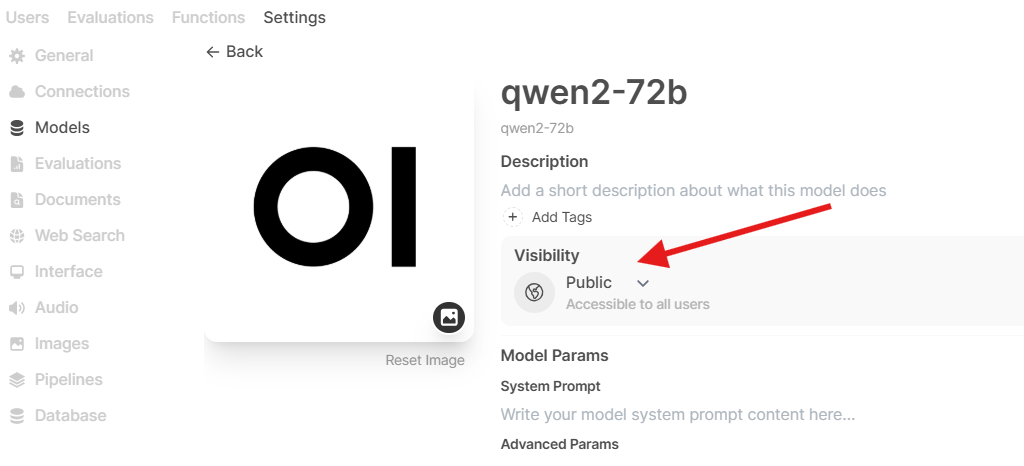
Done! Be aware that now every user will have access to this model.
For further steps on how to use it go to OpenWebUI docs